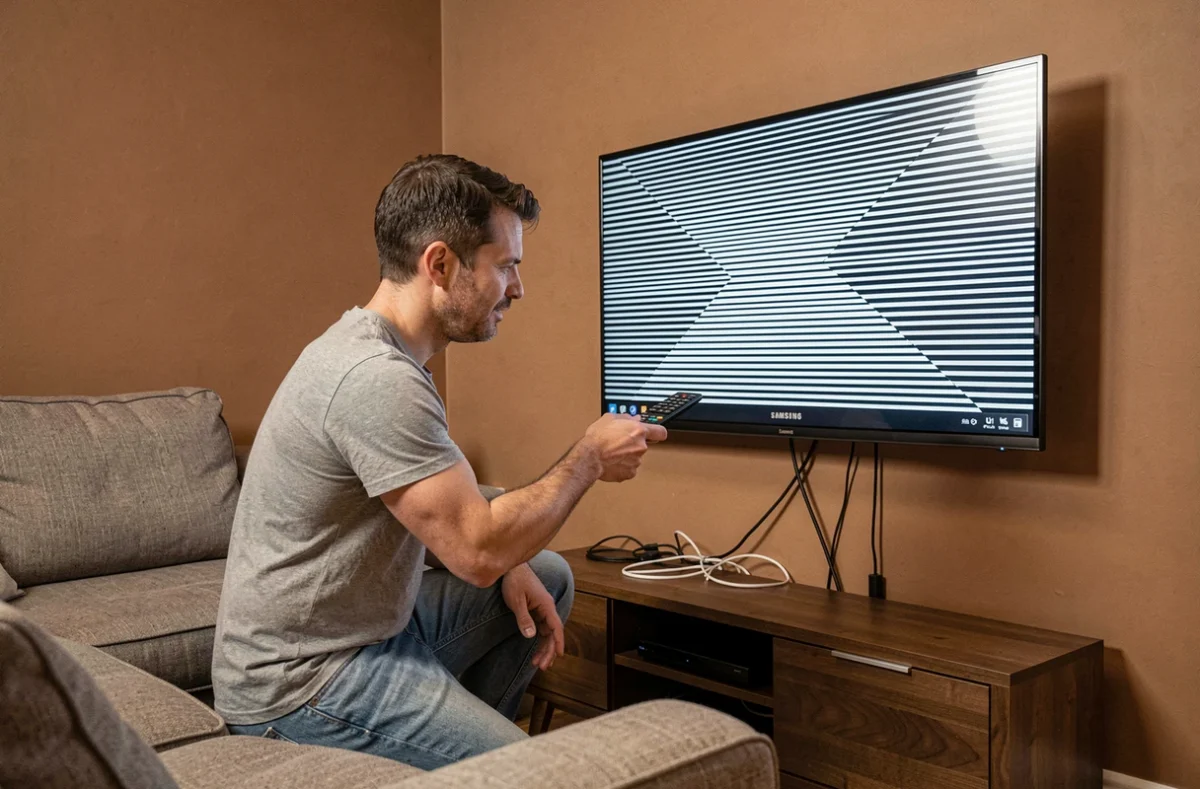
A black band on the side, a portion of the image spilling off the screen, a slight horizontal shift across the entire surface: these defects on a Samsung TV do not always indicate a hardware failure. Most of the time, the problem originates from a poorly configured display setting, either on the TV side or the source device side. Precisely identifying the source of the shift before adjusting the settings helps avoid wasting time on false leads.
Samsung Internal Menu: The First Test to Perform Before Any Manipulation
Before changing any settings, display the TV’s native menu (Home or Menu button on the remote). If the shift, black bars, or doubling also appear in the Samsung menus themselves, the HDMI cable and the connected device are probably not to blame.
This distinction between source defect and TV defect is the first logical step. If the menus display correctly, the problem lies in the signal chain: cable, decoder, console, or PC. If the menus are also shifted, a complete power reset, a firmware update, or even a hardware diagnosis should be considered.
To attempt to resolve an image shift issue on a Samsung TV, this elimination method remains the most reliable, as it targets the right cause from the start.
Overscan and Image Size on Samsung TV: The Setting Most Users Overlook
Overscan is a legacy of CRT televisions. This function slightly crops the image by zooming in to hide potential artifacts at the edges. On a modern flat screen, overscan is no longer necessary. However, it remains enabled by default on many Samsung models, and it is the most common cause of cut-off or shifted images.
The setting can be found in the TV’s image settings, under the title Image Size. The option to select is “Fit to Screen” (or “Screen Fit” on English versions). This setting forces the TV to display the entire received signal without cropping.
One point deserves special attention: each HDMI input remembers its own image size settings. A console connected to HDMI 1 may display the image correctly while a decoder on HDMI 2 shows a visible shift. Therefore, it is necessary to check and adjust the setting for each port used, one by one.
Overscan on the Source Side: The Double Lock
The TV is not the only device that applies overscan. TNT decoders, internet boxes, and some consoles have their own display area settings. If overscan is active on both sides (source and TV), the shift accumulates.
- On an internet box, the setting is usually found in Settings > Display > Display Area or Image Format.
- On a gaming console, look in the screen settings for a “display area” or “safe area” slider that allows you to adjust the margins.
- On a PC, the output resolution must exactly match the TV’s native resolution, and the “scaling” option in the graphics driver (Nvidia, AMD, or Intel) should be set to “full screen” without overscan.
Renaming the HDMI Input to PC Mode: An Underestimated Diagnostic Test
Samsung TVs apply different image post-processing depending on the type of device detected on each HDMI port. When a signal is identified as coming from a Blu-ray player or decoder, the TV activates processing (smoothing, interpolation, cropping) that can cause a slight shift or loss of sharpness at the edges.
Manually renaming the HDMI input to “PC” in the TV’s device manager disables some of these processes. The signal is then displayed more directly, pixel by pixel. If the shift disappears after this renaming, the problem comes from the post-processing and not from the panel or the cable.
This test takes less than a minute and helps rule out a hardware defect. To access it: Source > Rename > select the relevant port > choose “PC”.
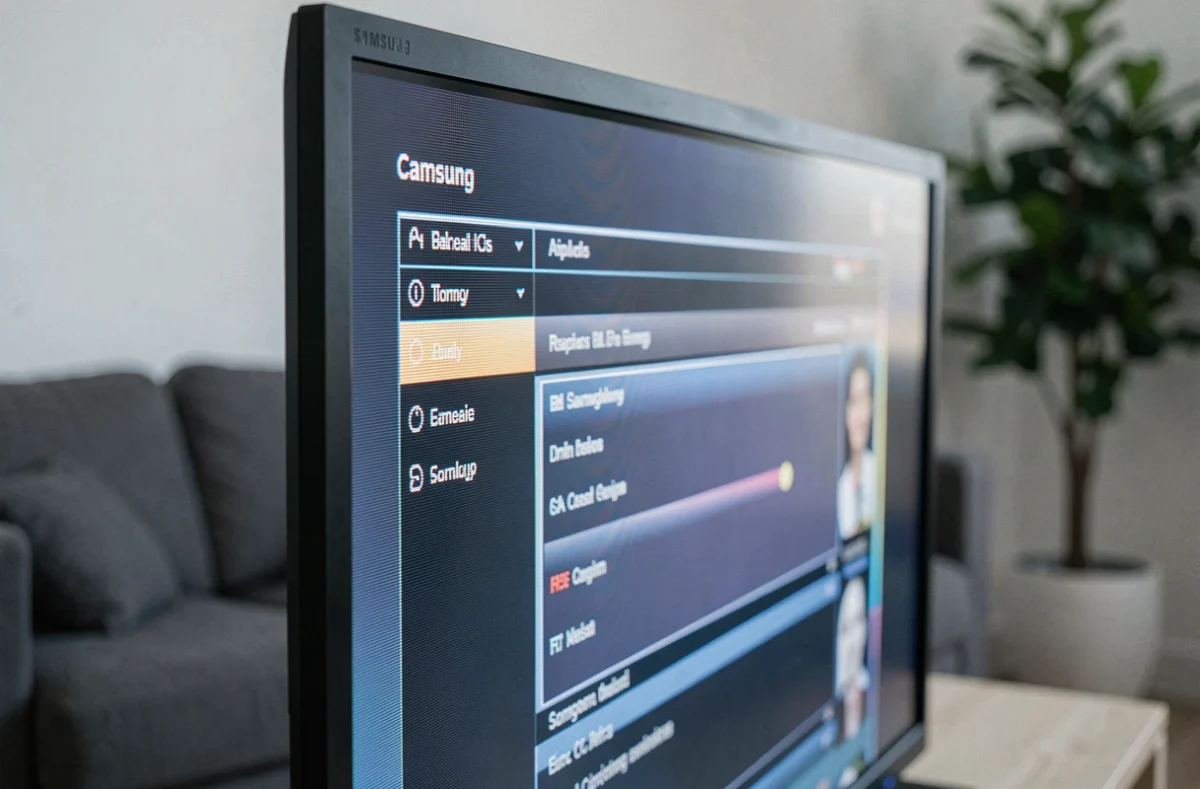
Image Reset and Firmware Update: Remedies When Adjustment Is Not Enough
When adjusting the image size and renaming the HDMI input have not changed anything, two options remain before considering contacting Samsung support.
Reset Image Settings
This function resets all visual settings (brightness, contrast, size, picture mode) to their factory values, without deleting apps or accounts. The usual path: Menu > Settings > Picture > Expert Settings > Reset Picture. This is a targeted reset, less drastic than a complete factory reset of the TV.
Update Internal Software
Samsung regularly deploys patches that correct display anomalies. The check is done in Menu > Settings > Support > Software Update > Update Now. If the TV is connected to the network, the update downloads automatically.
- A power reset (unplugging the TV from the wall for two minutes, then plugging it back in) can resolve temporary anomalies related to software cache.
- If the shift persists after resetting and updating, and is visible even in the native menus, the defect is likely hardware-related (ribbon cable, T-Con board, or panel).
- In this case, a diagnosis by Samsung’s after-sales service remains the only reliable option. Attempting to repair an internal component yourself usually voids the warranty.
An image shift issue on a Samsung TV is resolved in the vast majority of cases by adjusting the overscan or changing the HDMI input mode. Checking the internal menu allows for a quick determination between a software defect and a hardware defect. When the settings do not change anything and the shift also affects the TV’s native menus, the hardware issue becomes the most likely, and only a technician can confirm the exact origin of the problem.